How to easily animate your screens and components


Layout Animations are available since v2.3.0
This tutorial will help you make your screens and components more smooth by adding animations. We will use a new feature from the Reanimated library - Layout Animations which lets us animate:
- components appearance
- components disappearance
- layout changes
using predefined animations. There are plenty of predefined animations you can use, however, if you need to create more customized animation, you can easily implemented your own.
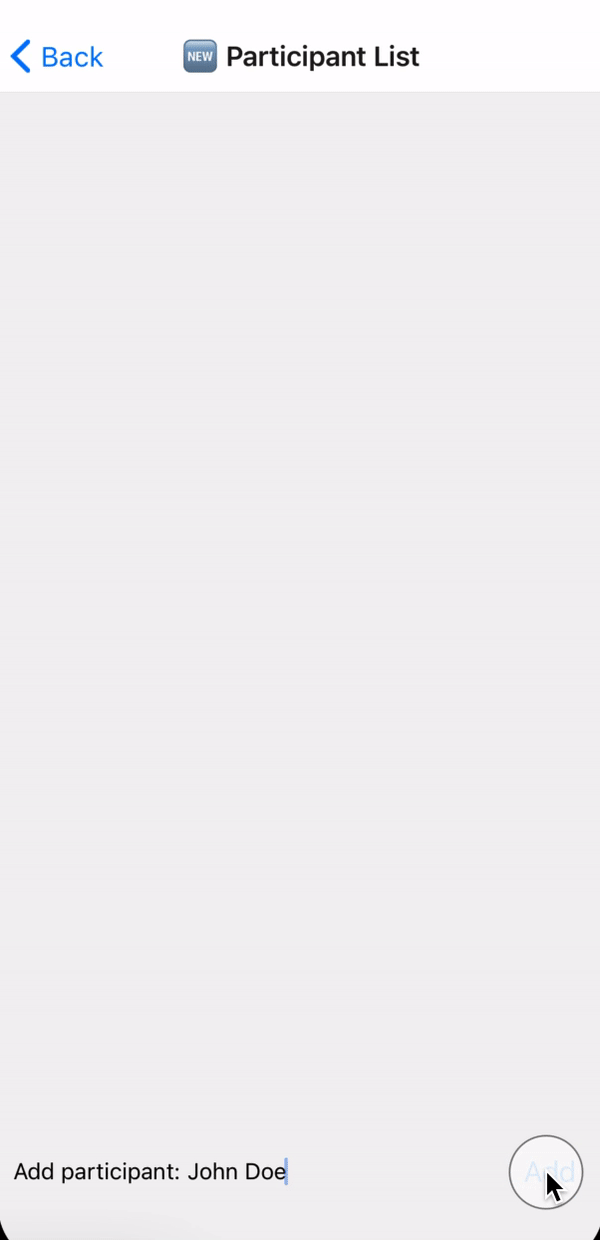
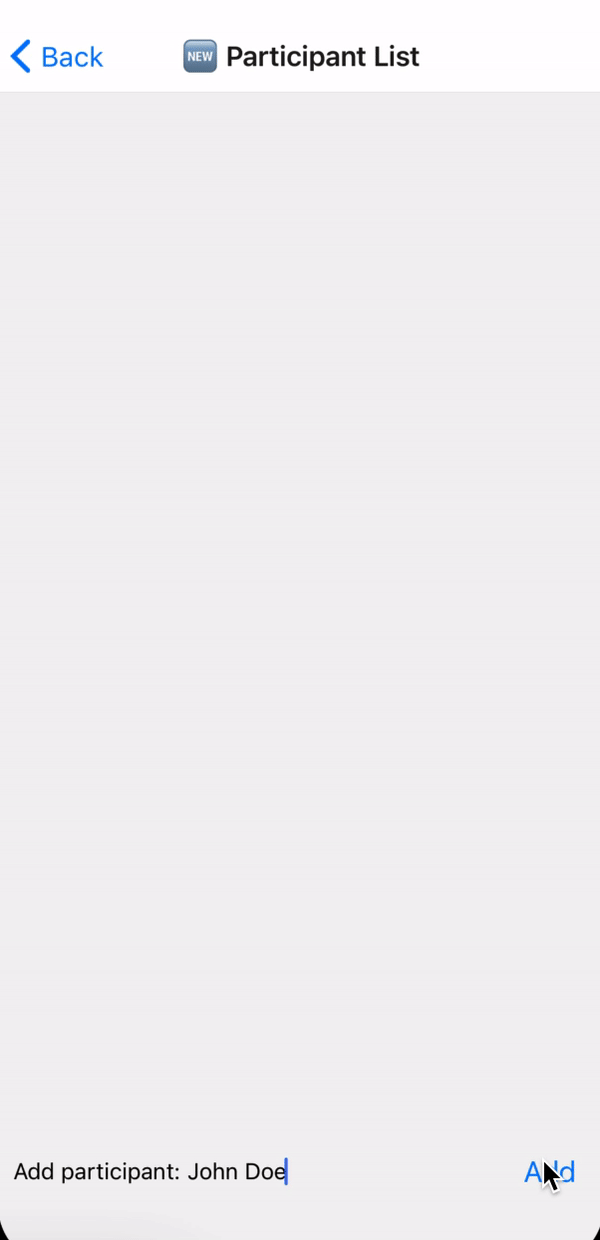
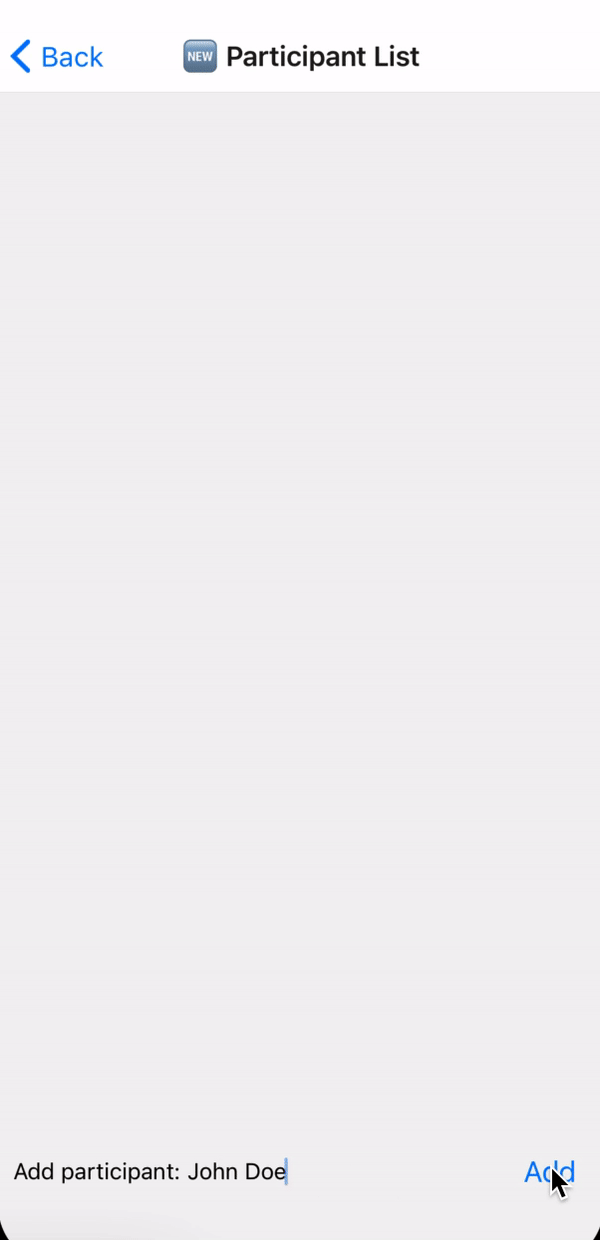
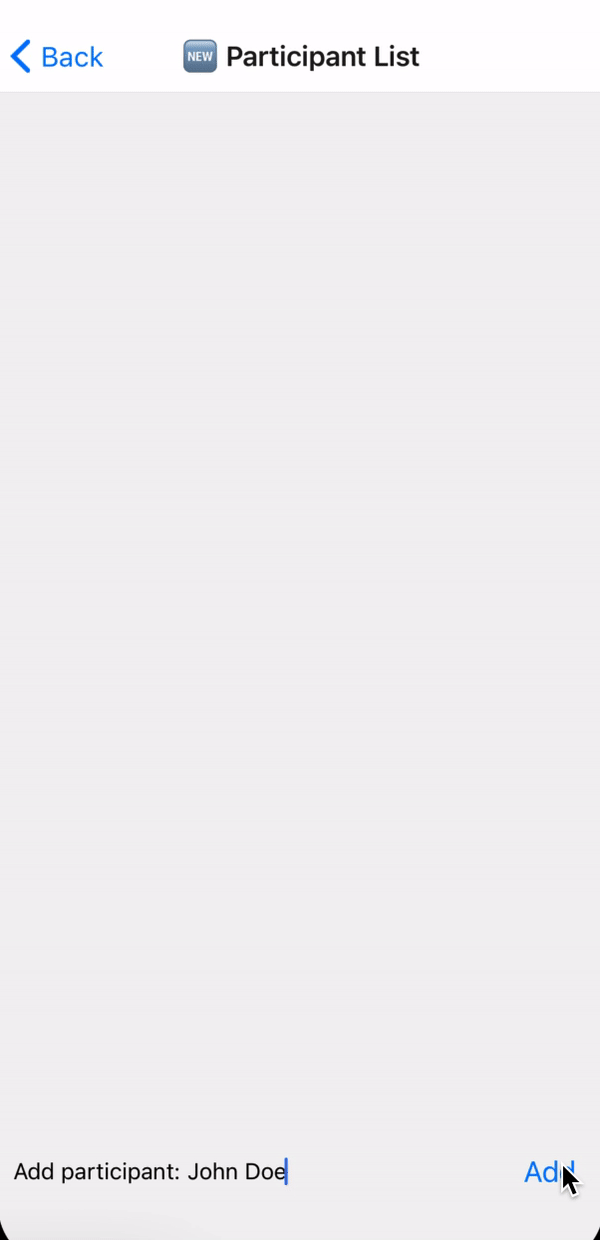
To give you a better understanding of how to use those animations, we are gonna prettify an already existing screen - participant list, by adding layout animations to its components. Here you can see the effect of the changes we will make going through this tutorial.
Screen Introduction
Here we have an already existing Participant list component (you can find the full code to edit yourself here). Let's focus on the parts that we will animate, in this case - the Participant component.
...
function Participant({
  name,
  onRemove,
}: {
  name: string;
  onRemove: () => void;
}) {
  return (
    <View
      style={[styles.participantView]}>
      <Text>{name}</Text>
      <Button title="Remove" color="red" onPress={onRemove} />
    </View>
  );
}

export default function AnimatedListExample() {
  const [inputValue, setInputValue] = useState('');
  const [participantList, setParticipantList] = useState<EventParticipant[]>(
    []
  );

  const addParticipant = () => {
    setParticipantList(
      [{ name: inputValue, id: Date.now().toString() }].concat(participantList)
    );
    setInputValue('');
  };

  const removeParticipant = (id: string) => {
    setParticipantList(
      participantList.filter((participant) => participant.id !== id)
    );
  };

  return (
    <View
      style={[styles.listView]}>
      <ScrollView style={[{ width: '100%' }]}>
        {participantList.map((participant) => (
          <Participant
            key={participant.id}
            name={participant.name}
            onRemove={() => removeParticipant(participant.id)}
          />
        ))}
      </ScrollView>

      <View
        style={[ styles.bottomRow]}>
        <View
          style={[styles.textInput]}>
          <Text>Add participant: </Text>
          <TextInput
            placeholder="Name"
            value={inputValue}
            onChangeText={setInputValue}
          />
        </View>

        <Button
          title="Add"
          disabled={inputValue === ''}
          onPress={addParticipant}
        />
      </View>
    </View>
  );
}
Participant component
The Participant component is responsible for displaying a list item, which we will be animating.
...
<ScrollView style={[{ width: '100%' }]}>
  {participantList.map((participant) => (
    <Participant
      key={participant.id}
      name={participant.name}
      onRemove={() => removeParticipant(participant.id)}
    />
  ))}
</ScrollView>
...
Participant component internals
As you can see the Participant component is wrapped in one View component, and that's the place where will be adding our animations. We can only animate components that are provided by Reanimated (e.g. Animated.View), or components we changed using createAnimatedComponent.
...
function Participant({
  name,
  onRemove,
}: {
  name: string;
  onRemove: () => void;
}) {
  return (
    <View
      style={[styles.participantView]}>
      <Text>{name}</Text>
      <Button title="Remove" color="red" onPress={onRemove} />
    </View>
  );
}
...
Step 1
Let's import Animated from Reanimated and replace View with Animated.View, so we can add animations to our component.
import Animated from 'react-native-reanimated';
...
function Participant({
  name,
  onRemove,
}: {
  name: string;
  onRemove: () => void;
}) {
  return (
    <Animated.View
      style={[styles.participantView]}>
      <Text>{name}</Text>
      <Button title="Remove" color="red" onPress={onRemove} />
    </Animated.View>
  );
}
...
Step 2
Now let's add an entering animation. There is plenty of available predefined animations that we can choose from. We will go with the LightSpeedInLeft effect.
import Animated, {LightSpeedInLeft} from 'react-native-reanimated';
...
function Participant({
  name,
  onRemove,
}: {
  name: string;
  onRemove: () => void;
}) {
  return (
    <Animated.View
      entering={LightSpeedInLeft}
      style={[styles.participantView]}>
      <Text>{name}</Text>
      <Button title="Remove" color="red" onPress={onRemove} />
    </Animated.View>
  );
}
...
Current result
Here you can see the effect we have achieved by adding the entering animation.
Step 3
Now let's add a layout transition.
import Animated, {
  LightSpeedInLeft,
  Layout
} from 'react-native-reanimated';
...
function Participant({
  name,
  onRemove,
}: {
  name: string;
  onRemove: () => void;
}) {
  return (
    <Animated.View
      entering={LightSpeedInLeft}
      layout={Layout.springify()}
      style={[styles.participantView]}>
      <Text>{name}</Text>
      <Button title="Remove" color="red" onPress={onRemove} />
    </Animated.View>
  );
}
...
Current result
Here you can see the effect we have achieved by adding a layout transition.
Step 4
Now let's add an exiting animation. Again there are many predefined animations we can choose from. We will go with the LightSpeedOutRight effect.
import Animated, {
  LightSpeedInLeft,
  LightSpeedOutRight
  Layout
} from 'react-native-reanimated';
...
function Participant({
  name,
  onRemove,
}: {
  name: string;
  onRemove: () => void;
}) {
  return (
    <Animated.View
      entering={LightSpeedInLeft}
      exiting={LightSpeedOutRight}
      layout={Layout.springify()}
      style={[styles.participantView]}>
      <Text>{name}</Text>
      <Button title="Remove" color="red" onPress={onRemove} />
    </Animated.View>
  );
}
...
And that's all! You can see that adding layout animations to our list was super easy and the user experience is way better. You can find the full code of the animated list here.