
Binding haptics to components
A binding ties one preset to one layer. It lives in the Figma file, so it travels with the design - to your teammates, to a shared preview, and into Dev Mode for whoever implements it.
Bind a preset
Section titled “Bind a preset”- Select a layer, component or instance on the canvas.
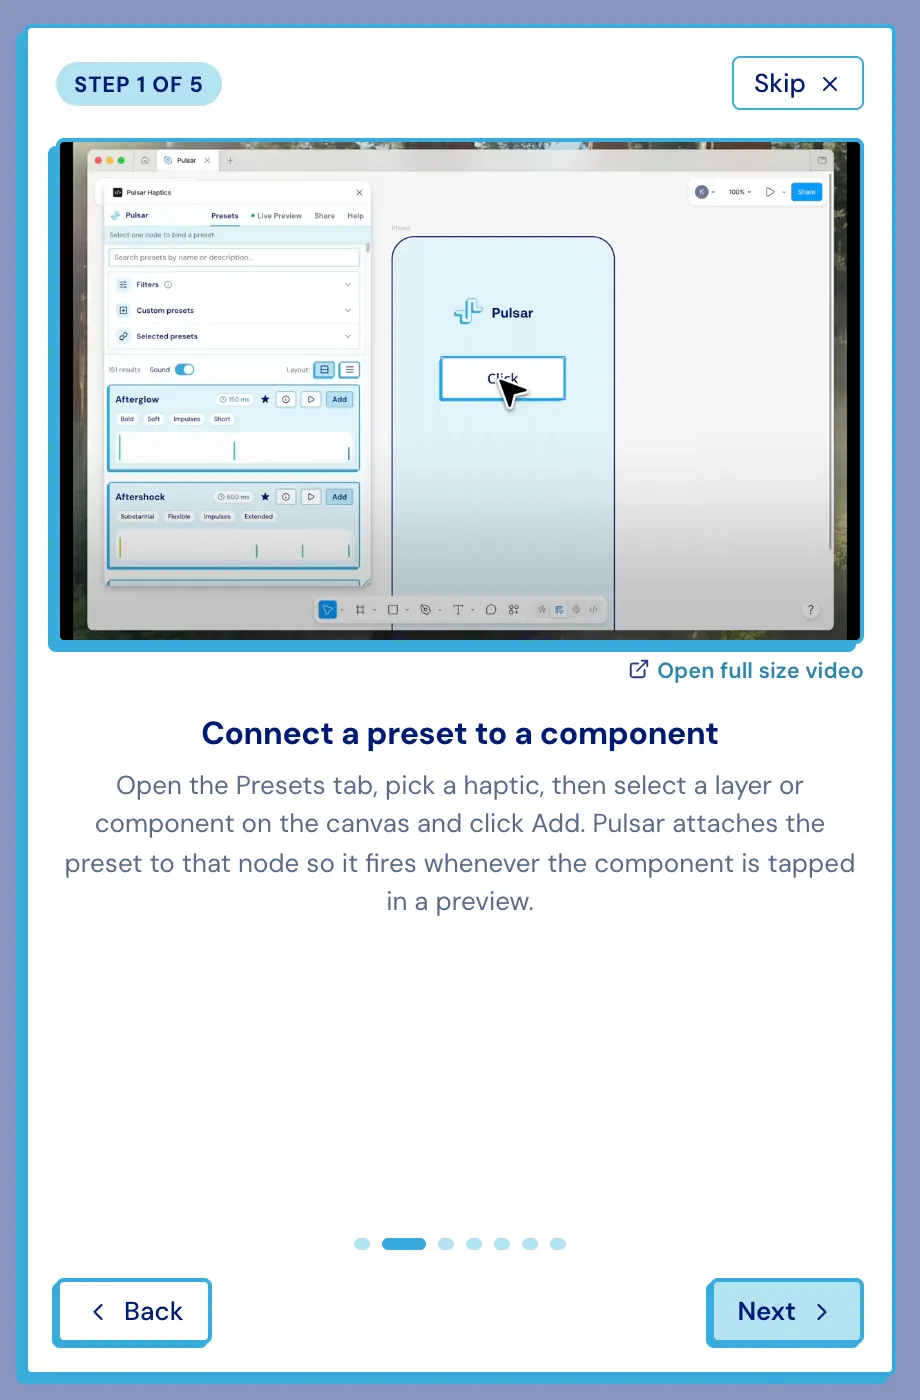
- Press + Add on any preset in the list - or on the preset’s detail dialog.
The strip above the list is the status line for this: it names the next action rather than describing the state, and always shows the component → preset pair you’re building.
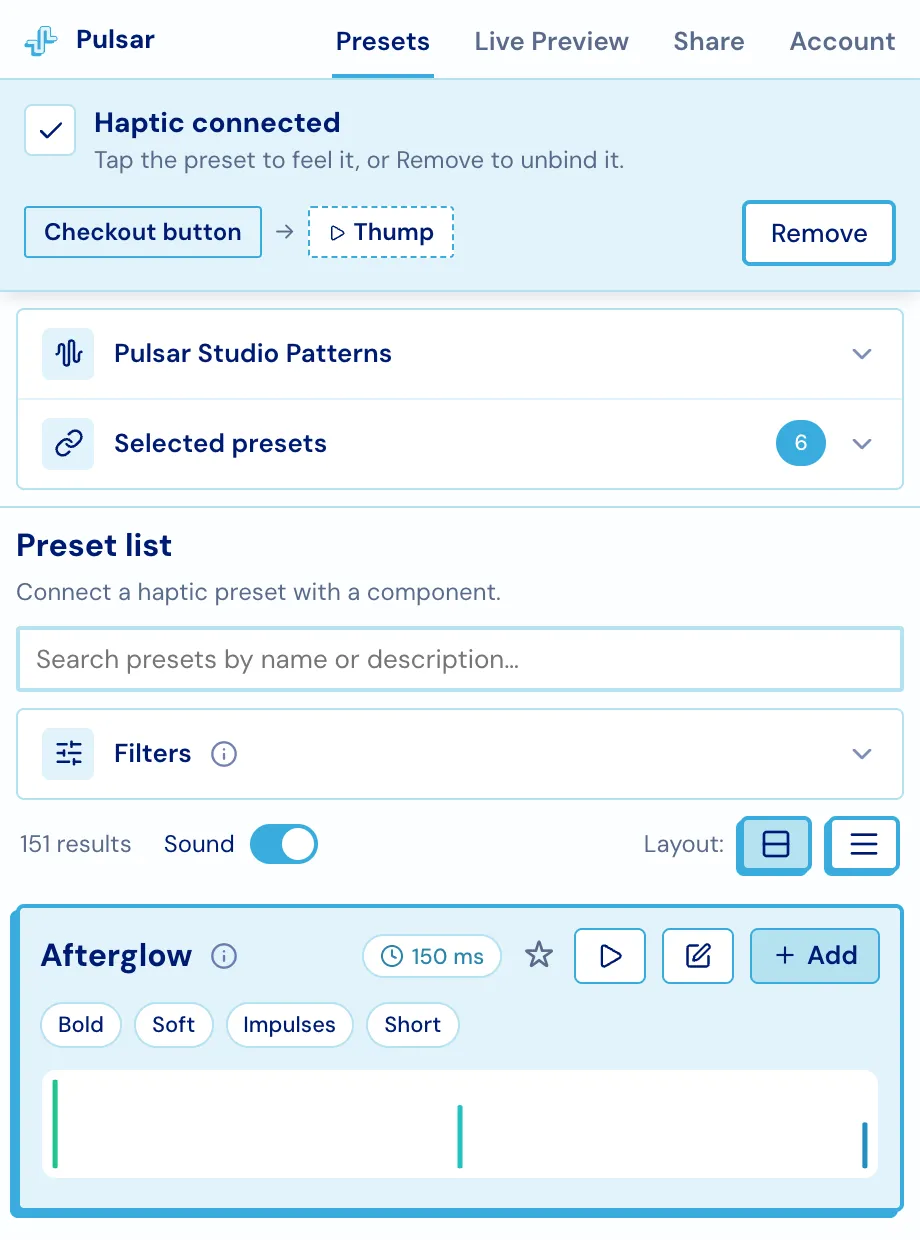
Selecting a bound layer on the canvas plays its haptic - through audio in Figma, and on your phone as well if one is paired. That is the fastest way to audit a screen: click through it and listen.
Everything bound in this file
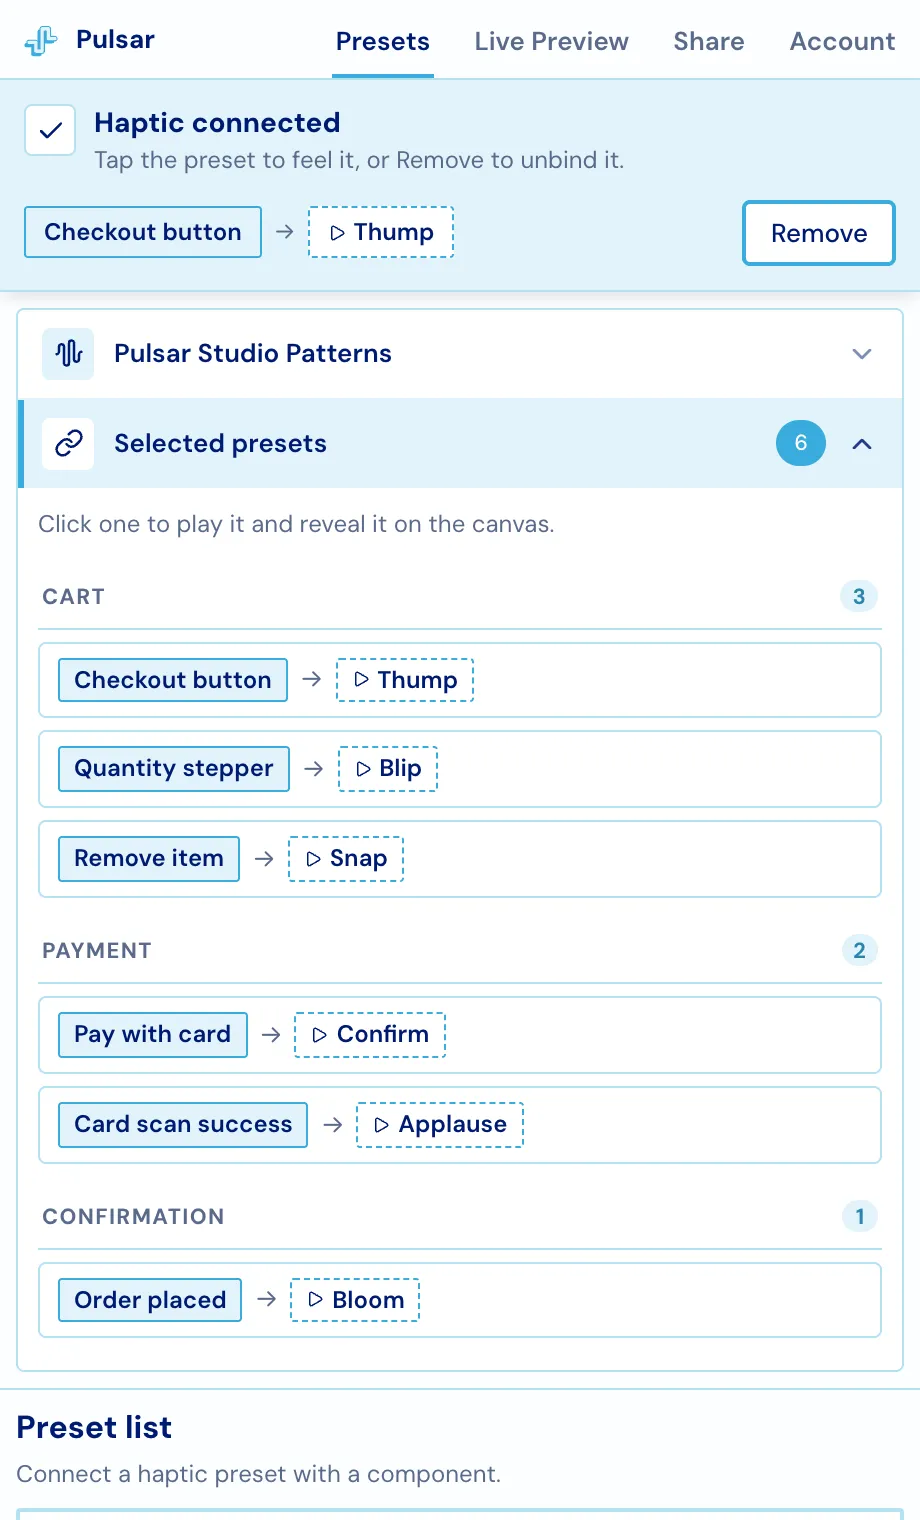
Section titled “Everything bound in this file”Selected presets lists every binding on the page, grouped by the screen it belongs to. Clicking a row plays the preset and reveals the layer on the canvas.
Removing one
Section titled “Removing one”Select the bound layer and press Remove in the selection bar. Unbinding a single instance only affects that instance, even when its main component carries a binding of its own.
What the plugin writes into your file
Section titled “What the plugin writes into your file”Two things, and nothing else:
- The binding itself, stored as plugin data on the layer, plus a relaunch button so the plugin can be reopened from that node.
- A Dev Mode annotation on each screen that has haptics, carrying a count and a link to these docs - so a developer, or a coding agent reading the file through the Figma MCP, discovers them without installing anything.
Annotations are optional: turning Annotate screens for developers off under Account → Privacy removes the ones already added. Nothing else about your layers, styles or layout is touched.
The binding is written in a form any tool with file access can read. For the other side of that - reading it back out and turning it into SDK calls - see Figma → code.